Ansible Essentials: Setting Up and Running Your First Commands

Search for a command to run...
No comments yet. Be the first to comment.
In this guide we will configure Terraform to use a remote backend on S3 and DynamoDB. We will use S3 to store the .tfstate file rather than storing locally. DynamoDB here is used to create a locking mechanism. Create an S3 bucket to store the tfstate...
In this project, we are going to setup the following using Terraform, VPC Public subnet Internet gateway Route table Security group EC2 instance Elastic IP The complete terraform code for this project is available on github The project folde...
Ansible is an open-source, robust automation tool that makes job automation, application deployment, and configuration management easier. To assist you in automating your infrastructure, we'll go over the fundamentals of setting up Ansible and lead you through executing your first commands in this tutorial. Let's explore the fundamentals and unleash Ansible's potential.
Step 1 : Launch 2 Ubuntu instance with the name ‘Ansible server’ and ‘Target’.

Step 2 : Setup ansible server
For easy and quick connection, I use ‘EC2 instance connect’

Before we start, let’s refresh the local package index by running the following in the EC2 terminal.
sudo apt update
Install Ansible on EC2 server.
sudo apt install ansible -y
Since the ansible server needs to communicate with the target server, we need to make sure they both are accessible. Let’s create a key in both the instances.
In ansible-server, enter the following command.
ssh-keygen
Just press enter until it creates new key-pair. The terminal should look like this.

Go to the directory where the key is located. In my case it is “/home/ubuntu/.ssh/”
cd /home/ubuntu/.ssh/
ls

Let’s view the contents of the file id_ed25519.pub. Copy the contents of the file as well.
cat id_ed25519.pub

Step 3 : Setting up the target.
Now let’s add the public key of ansible-server in authorized keys file of target server.
cd /home/ubuntu/.ssh/
ls
vi authorized_keys
Paste the key which you copied from the last command of previous step.
Press Esc :wq to save and exit the file.
Step 4 : Writing first ansible code.
On the ansible-server, create a file named ‘inventory’ and enter the private IP of the target. (You may use public IP as well)
vi inventory
Save and exit the file.
Let’s run a command which creates a new directory on the target.
ansible -i inventory all -m "shell" -a "mkdir test-dir"
-i inventory - The -i flag specifies the inventory file. The inventory file contains a list of hosts or groups of hosts where Ansible will run the specified command.
all - This refers to all hosts in the inventory file.
-m shell - The -m option is used to specify the module that Ansible should use. In this case, the shell module is used, which allows you to run shell commands on the remote hosts.
-m “shell” - The -m option is used to specify the module that Ansible should use. In this case, the shell module is used, which allows you to run shell commands on the remote hosts.
-a "mkdir test-dir" : The -a flag specifies the argument passed to the module. In this case, the shell command being executed is mkdir test-dir, which creates a directory named test-dir on each of the remote hosts.

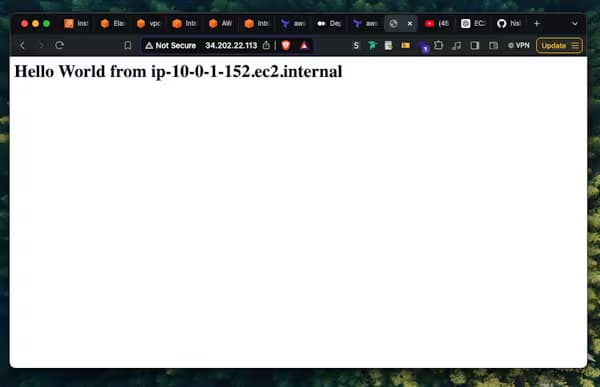
Now, if you run ls command on target, you’ll see a new directory is created.
You may explore the command by running similar functions.
Note : You can also group the target IP in inventory file as follow,
[ec2]
172.31.47.117

[database]
33.205.108.149
15.107.96.143

[webserver]
67.20.137.175
38.93.52.161
Here, ec2, database, webserver are the names of the groups. The target ec2 instance is in the group ‘ec2’. To run the command for the group ‘ec2’ only,
ansible -i inventory "ec2" -m "shell" -a "mkdir test-dir"
Note : To run multiple lines of commands, we generally use ansible playbook.
Step 5 : Create a playbook
Let’s create an ansible playbook which installs nginx on target and starts the server.
Create a new directory, for example ‘book’ and create a new file named ‘first.yml’
mkdir book
cd book
vi first.yml
In the first.yml, paste the following code.
---
- name: Install and start nginx
  hosts: all
  become: true

  tasks:
    - name: Install nginx
      apt:
        name: nginx
        state: present
    - name: Start ngnix
      service:
        name: nginx
        state: started
1. ---
This denotes the beginning of a YAML file.
2. - name: Install and start nginx
This is a descriptive name for the playbook. It summarizes what the playbook will do—install and start the Nginx service.
3. hosts: all
This tells Ansible to run the playbook on all hosts specified in the inventory file. You can specify specific host groups if needed.
4. become: true
This enables privilege escalation, meaning Ansible will run the tasks as a superuser (like root). It is required for tasks that need elevated permissions, such as installing packages or starting services.
5. tasks:
This section lists the tasks Ansible will perform. Each task is a step in the automation process.
Step 6 : Run the playbook
To run the playbook enter the following command.
ansible-playbook -i inventory ec2 first.yml
When you want to write complex playbook, use the command ansible-galaxy . For example ansible-galaxy role init kubernetes

defaults/: Contains default variable definitions for the role.
files/: Holds static files to be copied to remote hosts.
handlers/: Defines tasks that are triggered by notifications.
meta/: Stores metadata about the role, including dependencies.
tasks/: Contains the main tasks that the role will execute.
templates/: Contains Jinja2 templates for dynamic file generation.
tests/: Includes files and playbooks for testing the role.
vars/: Contains variables specific to the role that shouldn’t be overridden.